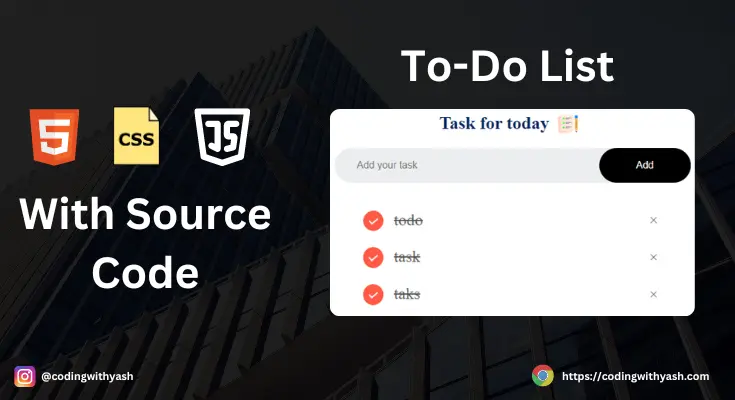
Hello Folks, today we’re going to learn how to create a To-Do List using HTML, CSS, and JavaScript. But before that, If you are a beginner and looking for beginner-friendly projects for polishing your web development skills then you must also check out our HTML, CSS and JS Projects. Now let’s come to today’s to-do list project that is going to help you to understand the DOM Manipulation concept in a fun and easy way. Also, you will get to learn how to add or remove elements on click events from your DOM. I have provided the source code as well for you to practice and edit or remove functionality at your own convenience.
Table of Contents
ToggleSetting Up the To-Do List Project
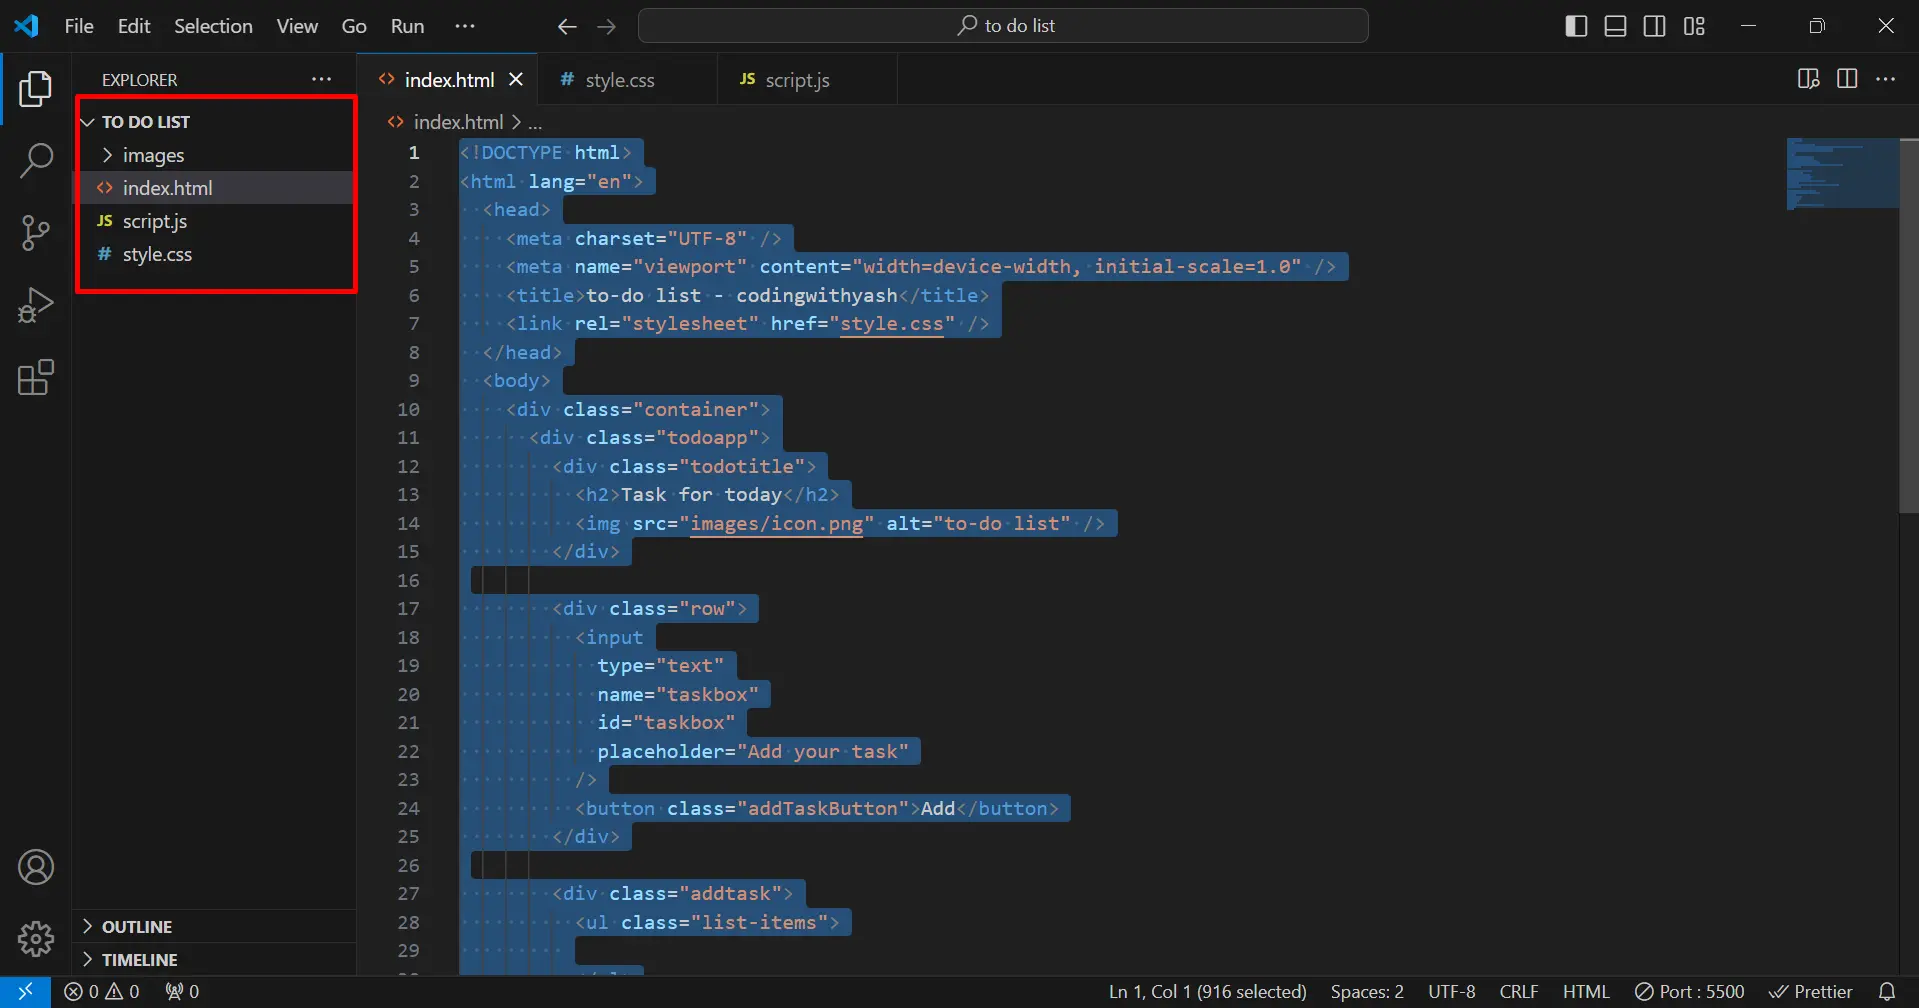
Before we dive into the project, make sure you have a code editor (like Visual Studio Code) and a web browser (like Chrome) installed on your computer. You’ll also need a basic understanding of HTML, CSS, and JavaScript. Also, I have added the screenshot for the folder structure for reference.
Images Link: Download images from here
Step 1: Create the Project Structure For To-Do List

First, create a new folder for your project. Inside this folder, create one folder named images and create three files :
- index.html for layout and structure.
- style.css for styling our layout
- script.js for adding functionality to the layout
- Images folder for storing images for the to-d0 list project
Writing the HTML Code For To-Do List
Open the index.html file in your code editor and add the following code:
<!DOCTYPE html>
<html lang="en">
  <head>
    <meta charset="UTF-8" />
    <meta name="viewport" content="width=device-width, initial-scale=1.0" />
    <title>to-do list - codingwithyash</title>
    <link rel="stylesheet" href="style.css" />
  </head>
  <body>
    <div class="container">
      <div class="todoapp">
        <div class="todotitle">
          <h2>Task for today</h2>
          <img src="images/icon.png" alt="to-do list" />
        </div>
        <div class="row">
          <input
            type="text"
            name="taskbox"
            id="taskbox"
            placeholder="Add your task"
          />
          <button class="addTaskButton">Add</button>
        </div>
        <div class="addtask">
          <ul class="list-items">
          </ul>
        </div>
      </div>
    </div>
    <script src="script.js"></script>
  </body>
</html>
This HTML code sets up the basic structure of your to-do list. It includes an input field for adding new tasks, a button to add tasks, and an unordered list to display the tasks.
Styling the To-Do List with CSS
Next, open the style.css file and add the following styles:
* {
  margin: 0;
  padding: 0;
  box-sizing: border-box;
}
.container {
  position: relative;
  width: 100%;
  min-height: 100vh;
  background-color: black;
}
.todoapp {
  width: 100%;
  max-width: 500px;
  position: absolute;
  top: 5%;
  left: 20%;
  background: #fff;
  border-radius: 10px;
  padding: 10px;
}
.todotitle {
  display: flex;
  justify-content: center;
}
h2 {
  color: #002765;
  margin-bottom: 20px;
}

.todoapp img {
  display: inline-block;
  width: auto;
  height: 30px;
  margin: 0 10px;
}
.row {
  width: 100%;
  display: flex;
  justify-content: space-between;
  background: #edeef0;
  margin-bottom: 25px;
  padding-left: 20px;
  border-radius: 30px;
}
.row input {
  outline: none;
  border: none;
  background: transparent;
  flex: 1;
  padding: 10px;
}

.row button {
  background-color: #000;
  color: #fff;
  border: none;
  outline: none;
  padding: 16px 50px;
  border-radius: 25px;
  cursor: pointer;
}
.addtask {
  padding: 0 30px;
}

.addtask ul li {
  list-style: none;
  font-size: 22px;
  padding: 12px 8px 12px 50px;
  position: relative;
  user-select: none;
  cursor: pointer;
}
.addtask ul li::before {
  content: "";
  position: absolute;
  height: 28px;
  width: 28px;
  top: 12px;
  left: 8px;
  border-radius: 50%;
  background-image: url("images/unchecked.png");
  background-position: center;
  background-size: cover;
}
.addtask ul li.checked {
  color: #555;
  text-decoration: line-through;
}
ul li.checked::before {
  background-image: url("images/checked.png");
}
ul li span {
  position: absolute;
  right: 0;
  top: 5px;
  width: 40px;
  height: 40px;
  font-size: 22px;
  color: #555;
  text-align: center;
  line-height: 40px;
}
ul li span:hover {
  background: #edeef0;
  border-radius: 50%;
}
This CSS code styles your to-do list to look clean and user-friendly. It sets up the basic layout and appearance for the input field, button, and task list items.
Adding JavaScript Functionality To the To-Do List
Finally, open the script.js file and add the following JavaScript code:
"use strict";
console.log("hello");
const addTaskBox = document.querySelector("#taskbox");
const addTaskBtn = document.querySelector(".addTaskButton");
const addTaskRow = document.querySelector(".list-items");

addTaskBtn.addEventListener("click", function () {
  if (addTaskBox.value === "") alert("add something first");
  else {
    let li = document.createElement("li");
    li.innerHTML = addTaskBox.value;
    addTaskRow.appendChild(li);
    let span = document.createElement("span");
    span.innerHTML = "\u00d7";
    li.appendChild(span);
  }
  addTaskBox.value = "";
  localSave();
});

addTaskRow.addEventListener("click", function (e) {
  console.log("list");
  console.log(e);
  if (e.target.tagName.toLowerCase() === "li") {
    e.target.classList.toggle("checked");
    localSave();
  } else if (e.target.tagName.toLowerCase() === "span") {
    e.target.parentElement.remove();
    localSave();
  }
});

function localSave() {
  localStorage.setItem("data", addTaskRow.innerHTML);
}

function localDisplay() {
  addTaskRow.innerHTML = localStorage.getItem("data");
}

localDisplay();
This JavaScript code adds functionality to your to-do list. It allows you to add new tasks, mark tasks as completed, and delete tasks. The tasks are also saved in the local storage so that they persist even when the page is refreshed.
Conclusion
By following these steps, you can create a simple to-do list application using HTML, CSS, and JavaScript. This project is a great way to practice your web development skills and create a useful tool to help you stay organized. Also if you have any doubt then let me know in the comments section, I will be more than happy to help you.
Thank you for reading so far.
Frequently Asked Question
Ques.1) Can I add more features to the to-do list?
Ans.1) Yes, you can add features like task editing, due dates, and priority levels.
Ques.2) How can I make the to-do list responsive?
Ans.2) Use CSS media queries to adjust the layout for different screen sizes.
Ques.3) Is it possible to save tasks between sessions?
Ans.3) Yes, you can use local storage to save tasks so they persist even when the page is refreshed.
Ques.4) Can I style the to-do list using a CSS framework?
Ans.4) Yes, you can use frameworks like Bootstrap or Tailwind CSS to style your to-do list.
Ques.5) How can I deploy my to-do list online?
Ans.5) You can use services like GitHub Pages, Netlify, or Vercel to host your to-do list online.
One Response
Working fine 🙂